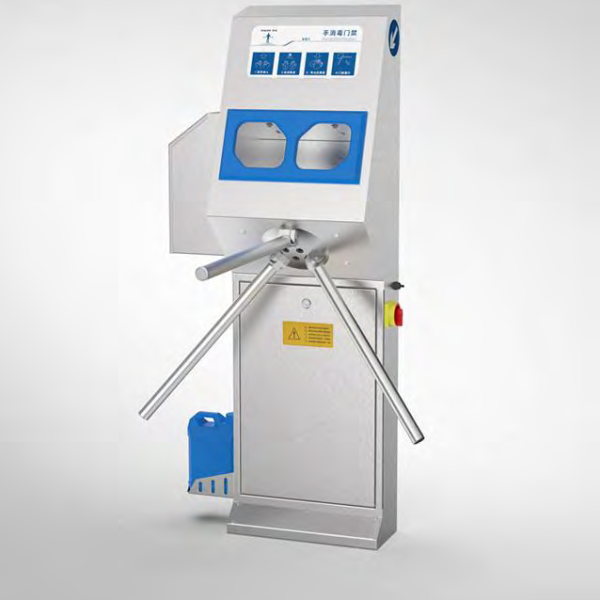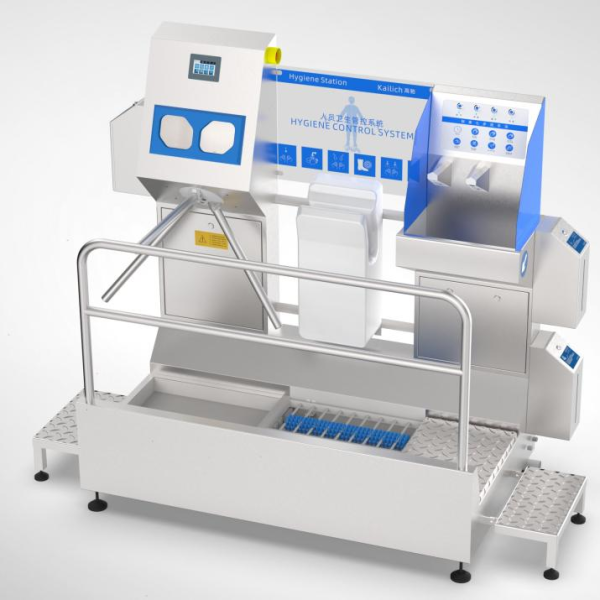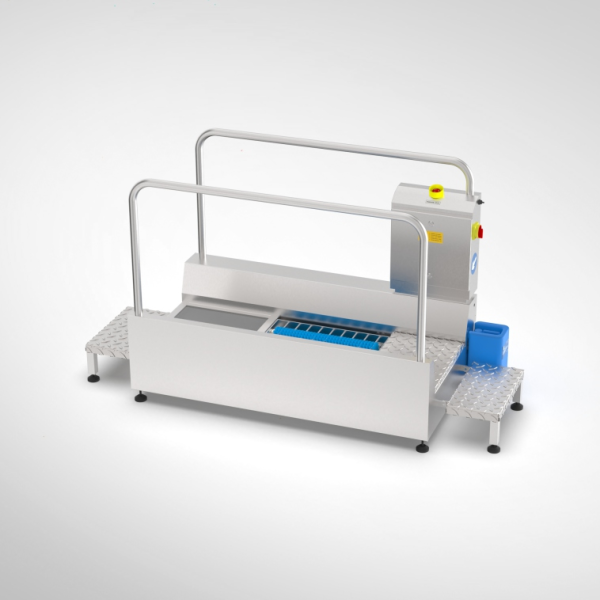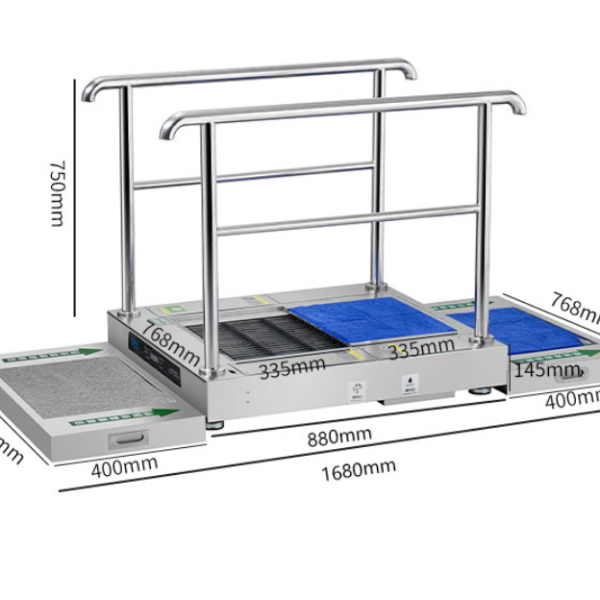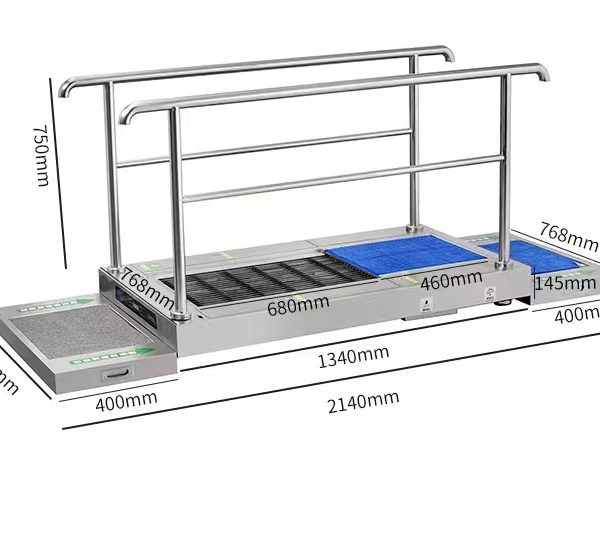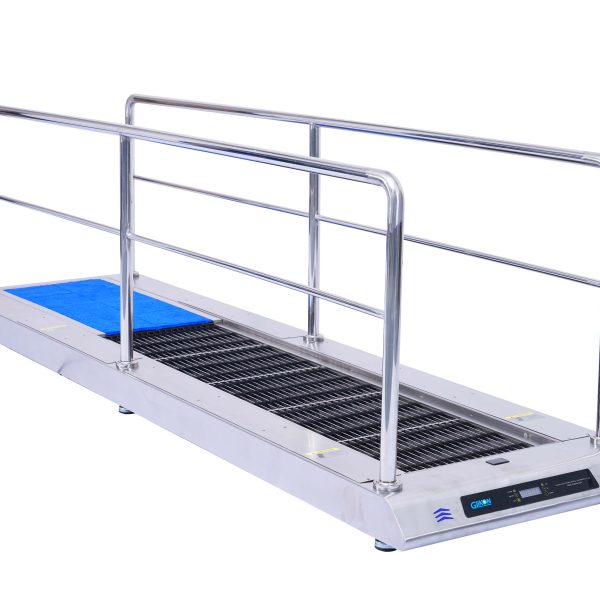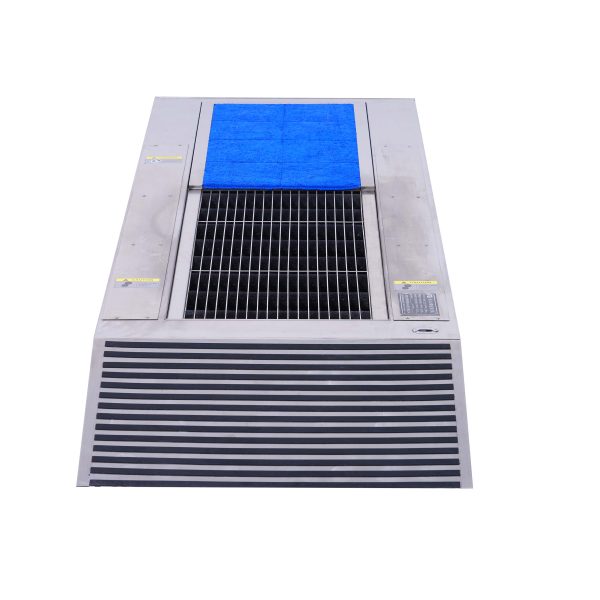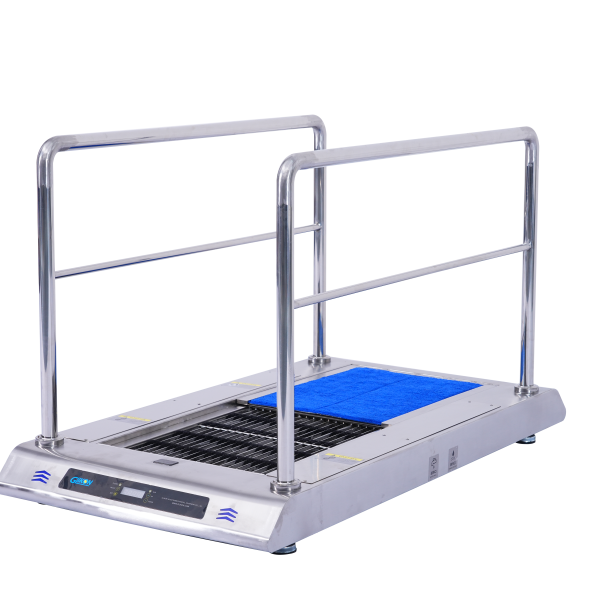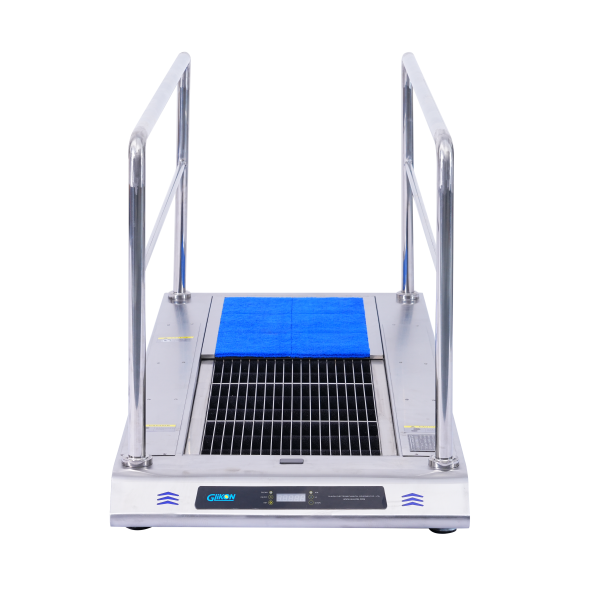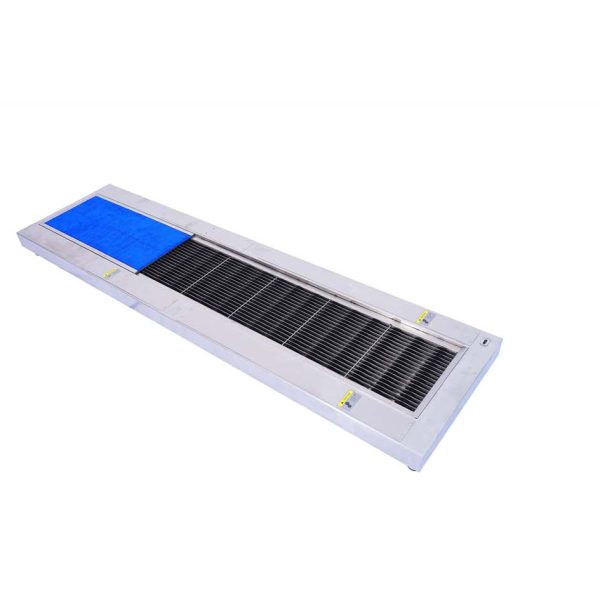
In recent years, Glikon’s shoe sole washing machine has upgraded from the first to the fourth generation. Each time they send inquiries to us, they have many problems and concerns before purchasing.
As factory owners become increasingly interested in the shoe sole cleaning machine, we have decided to write a blog to remove all their worries and doubts.
As is known to all, proper use and maintenance can prolong the service life of each machine. However, the use and maintenance vary from series to series.
Today, we focus on only the 4th-generation N-series shoe sole washing machine, and help each customer get the most value out of their investment in the long run.
1. Precautions before you install and use the shoe sole washing machine.
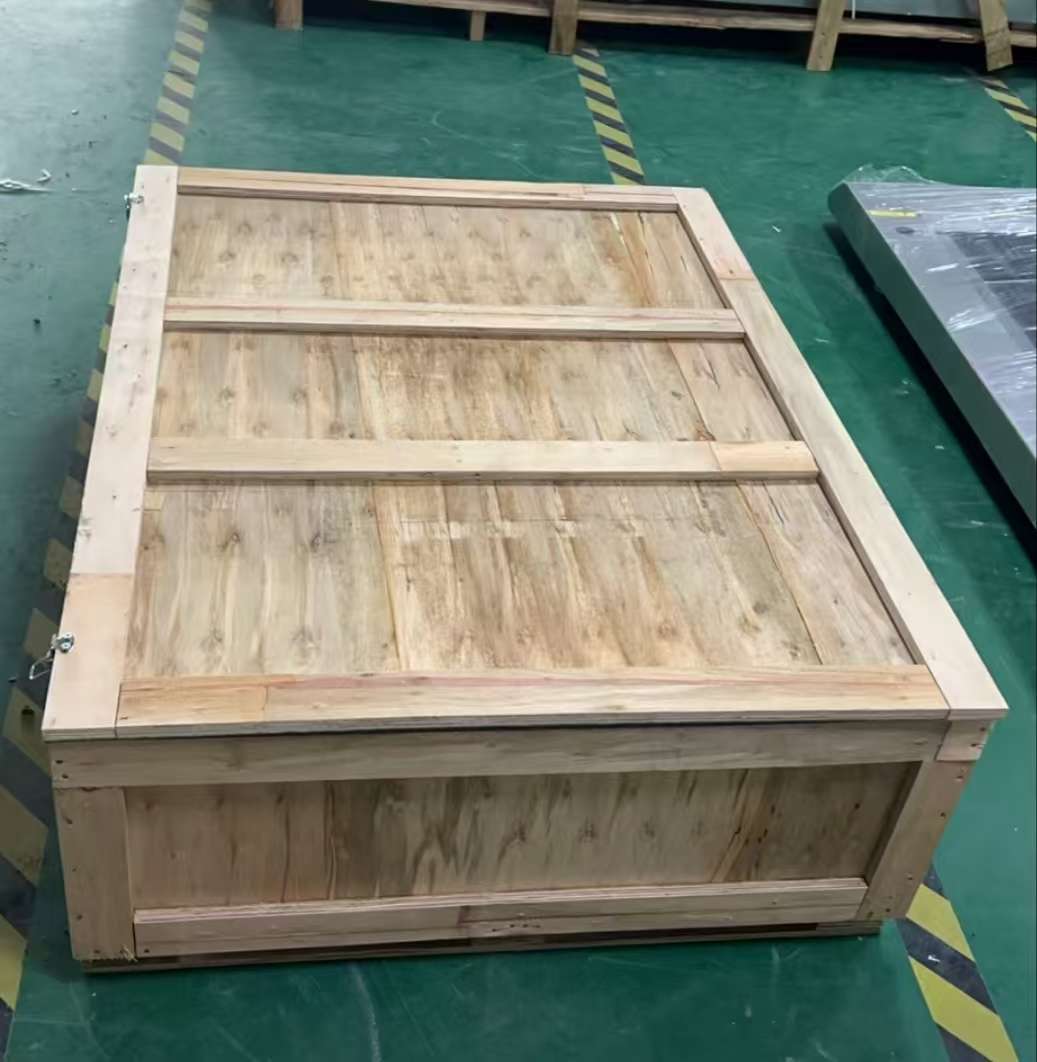
Step 1: Open the wooden box and check the shoe bottom cleaning machine.
After removing the plastic film from the surface, check if the boot brush staton is deformed or damaged. If yes, you can contact the shipper or carrier for compensation. By the way, we usually buy insurance for each machine during the shipment. If the automatic shoe cleaner machine gets damaged during shipment, we can ask the carrier for compensation.
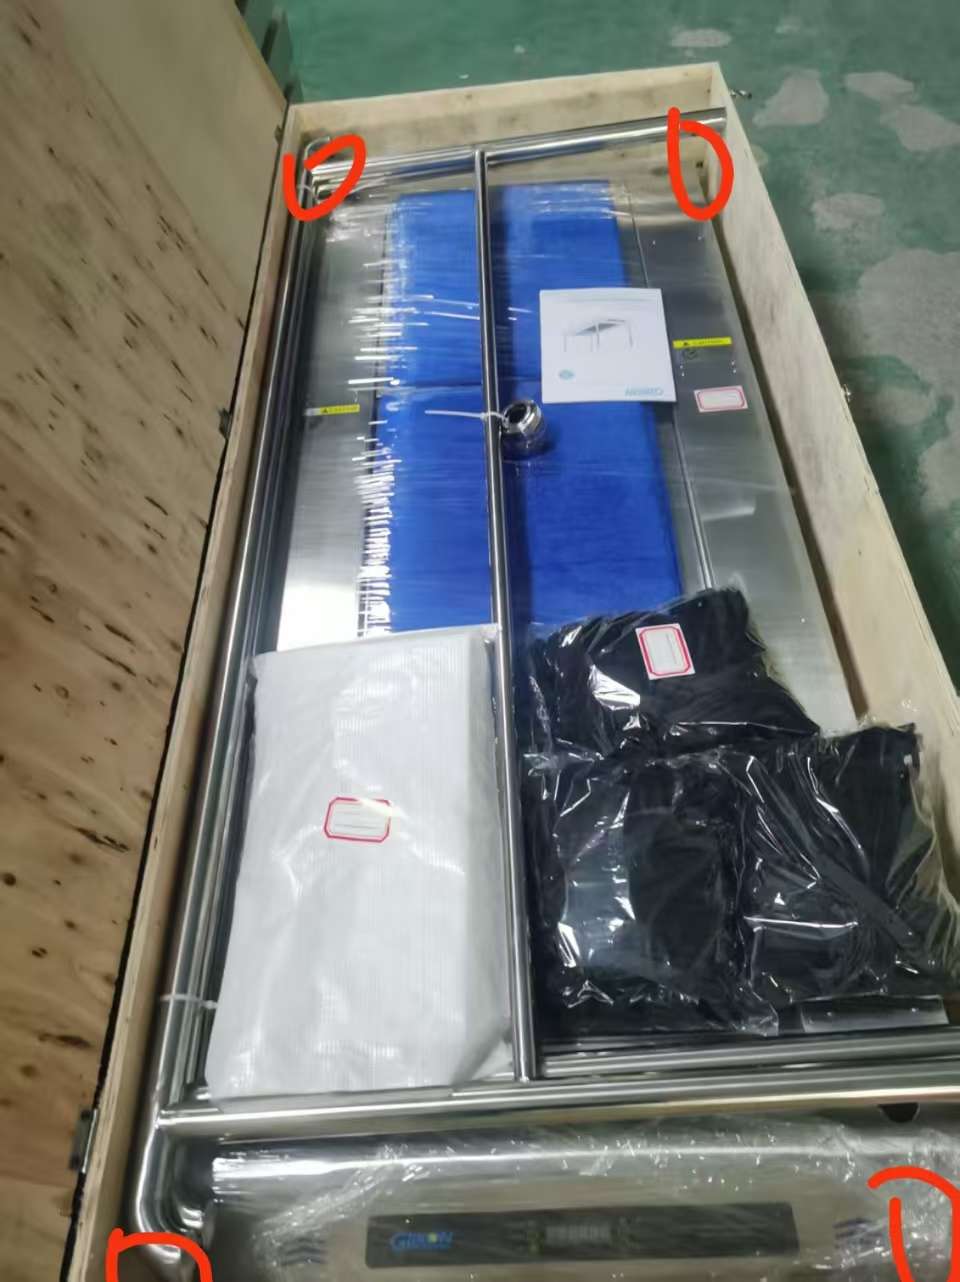
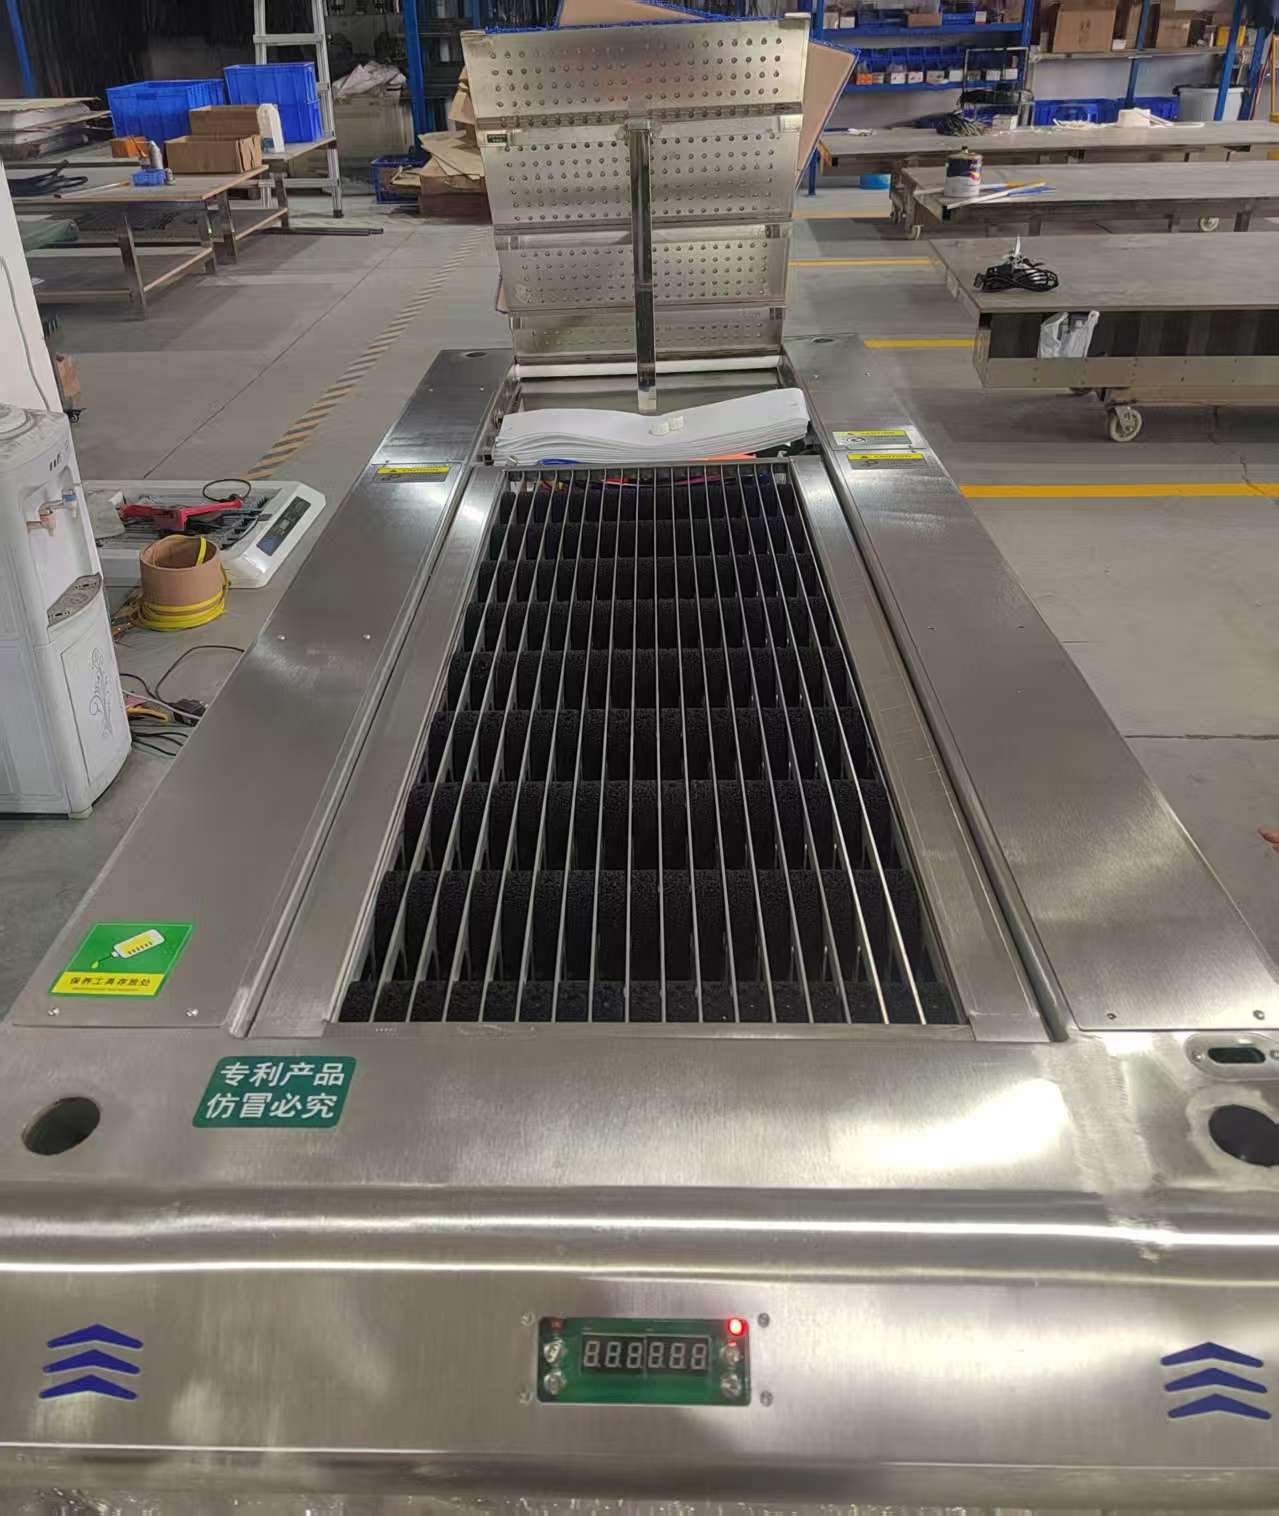
Step 2. Uplift the metal cover, and confirm the spare parts in the sediment trough.
Normally, we will prepare all the necessary parts with the shoe cleaning machine. The accessories of the shoe sole washing machine include:
1) Leakage protection power cord: 1 pcs
2) Anti-water return device 1 pcs
3) White filter cloth 60 pcs
4) Bottom cleaning brushes 2 pcs
5) Spare water-absorbent pads 6 pcs
6) White blocker: 1 pcs
7) Water level gauge 1 pcs
8) Water inlet pipe: 1 pcs
9) Drain pipe: 1 pcs
10) Customized plug: 1 pcs
11) Spare Belt brushes: 1 whole set for the machine.
12) Velcro: 5 meters
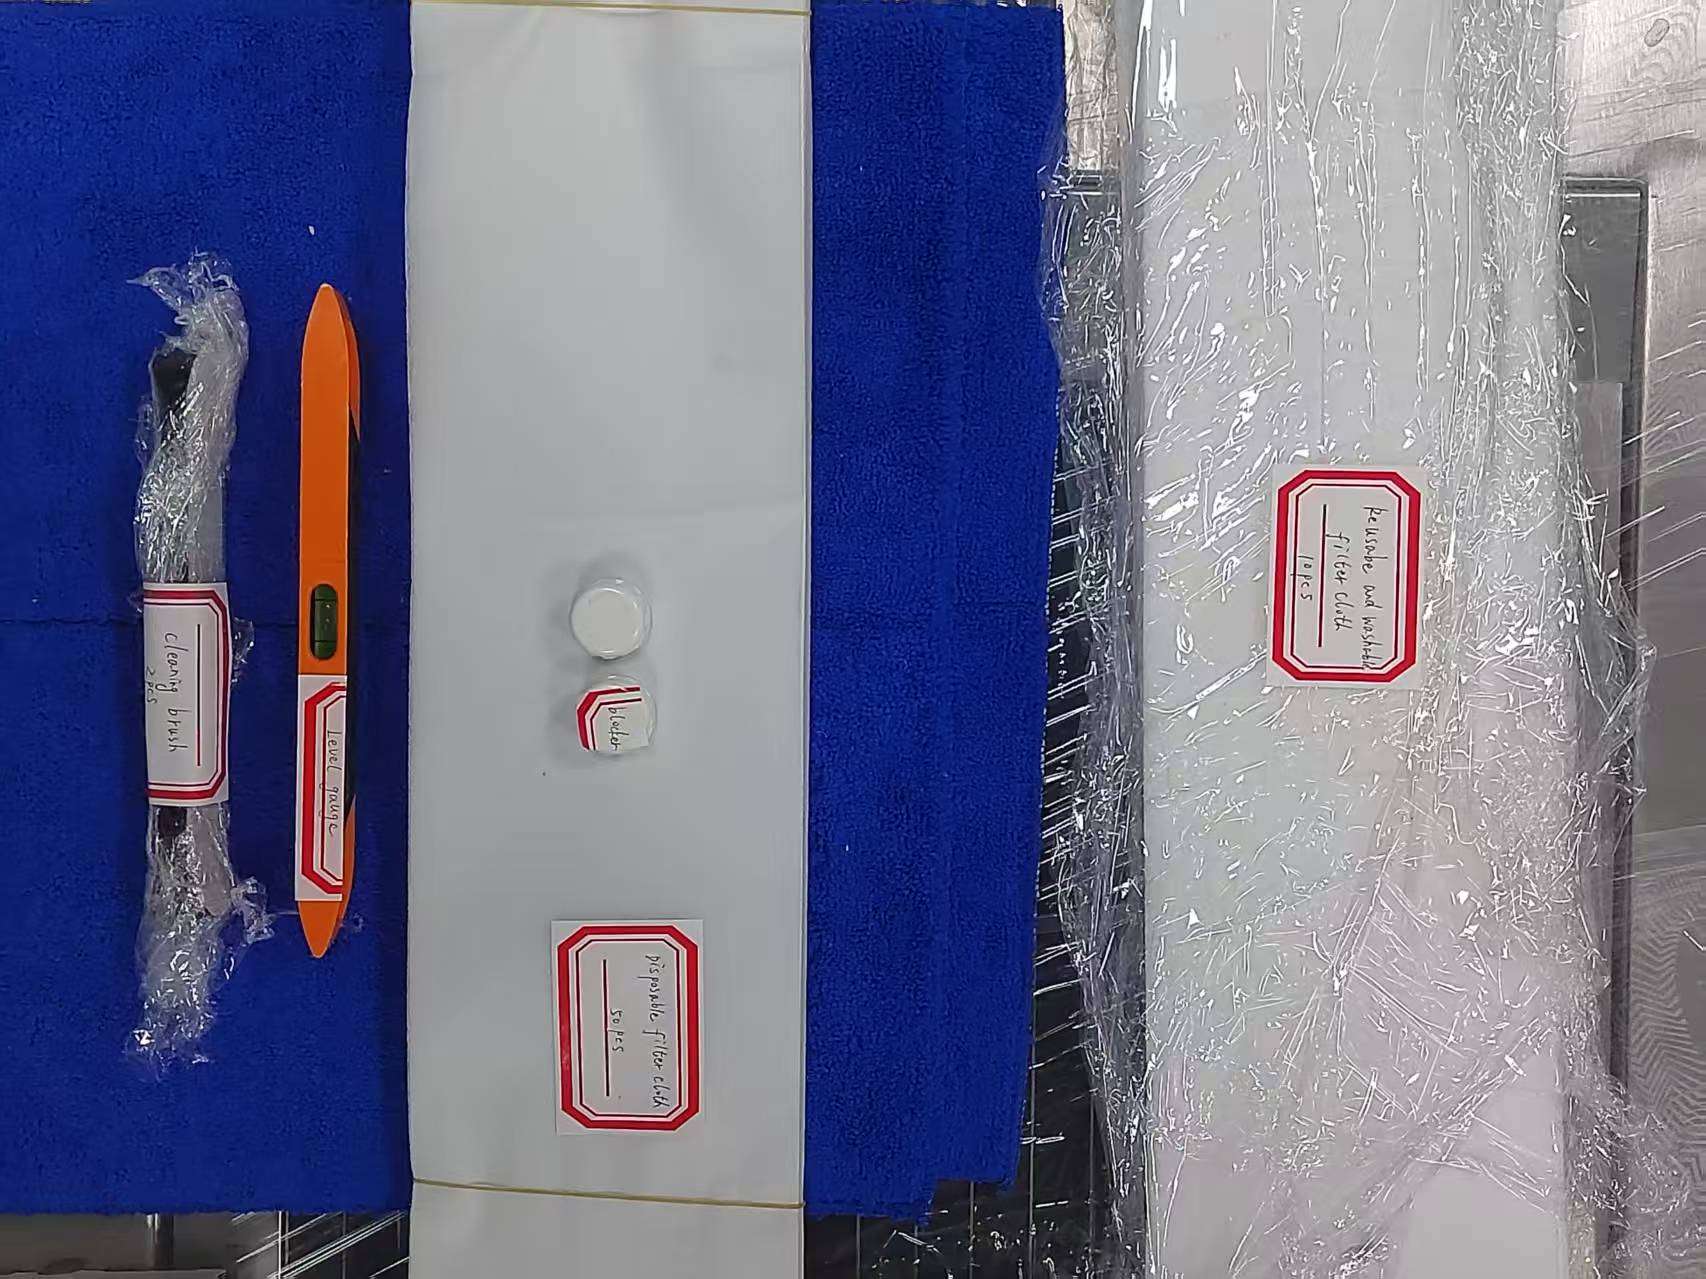
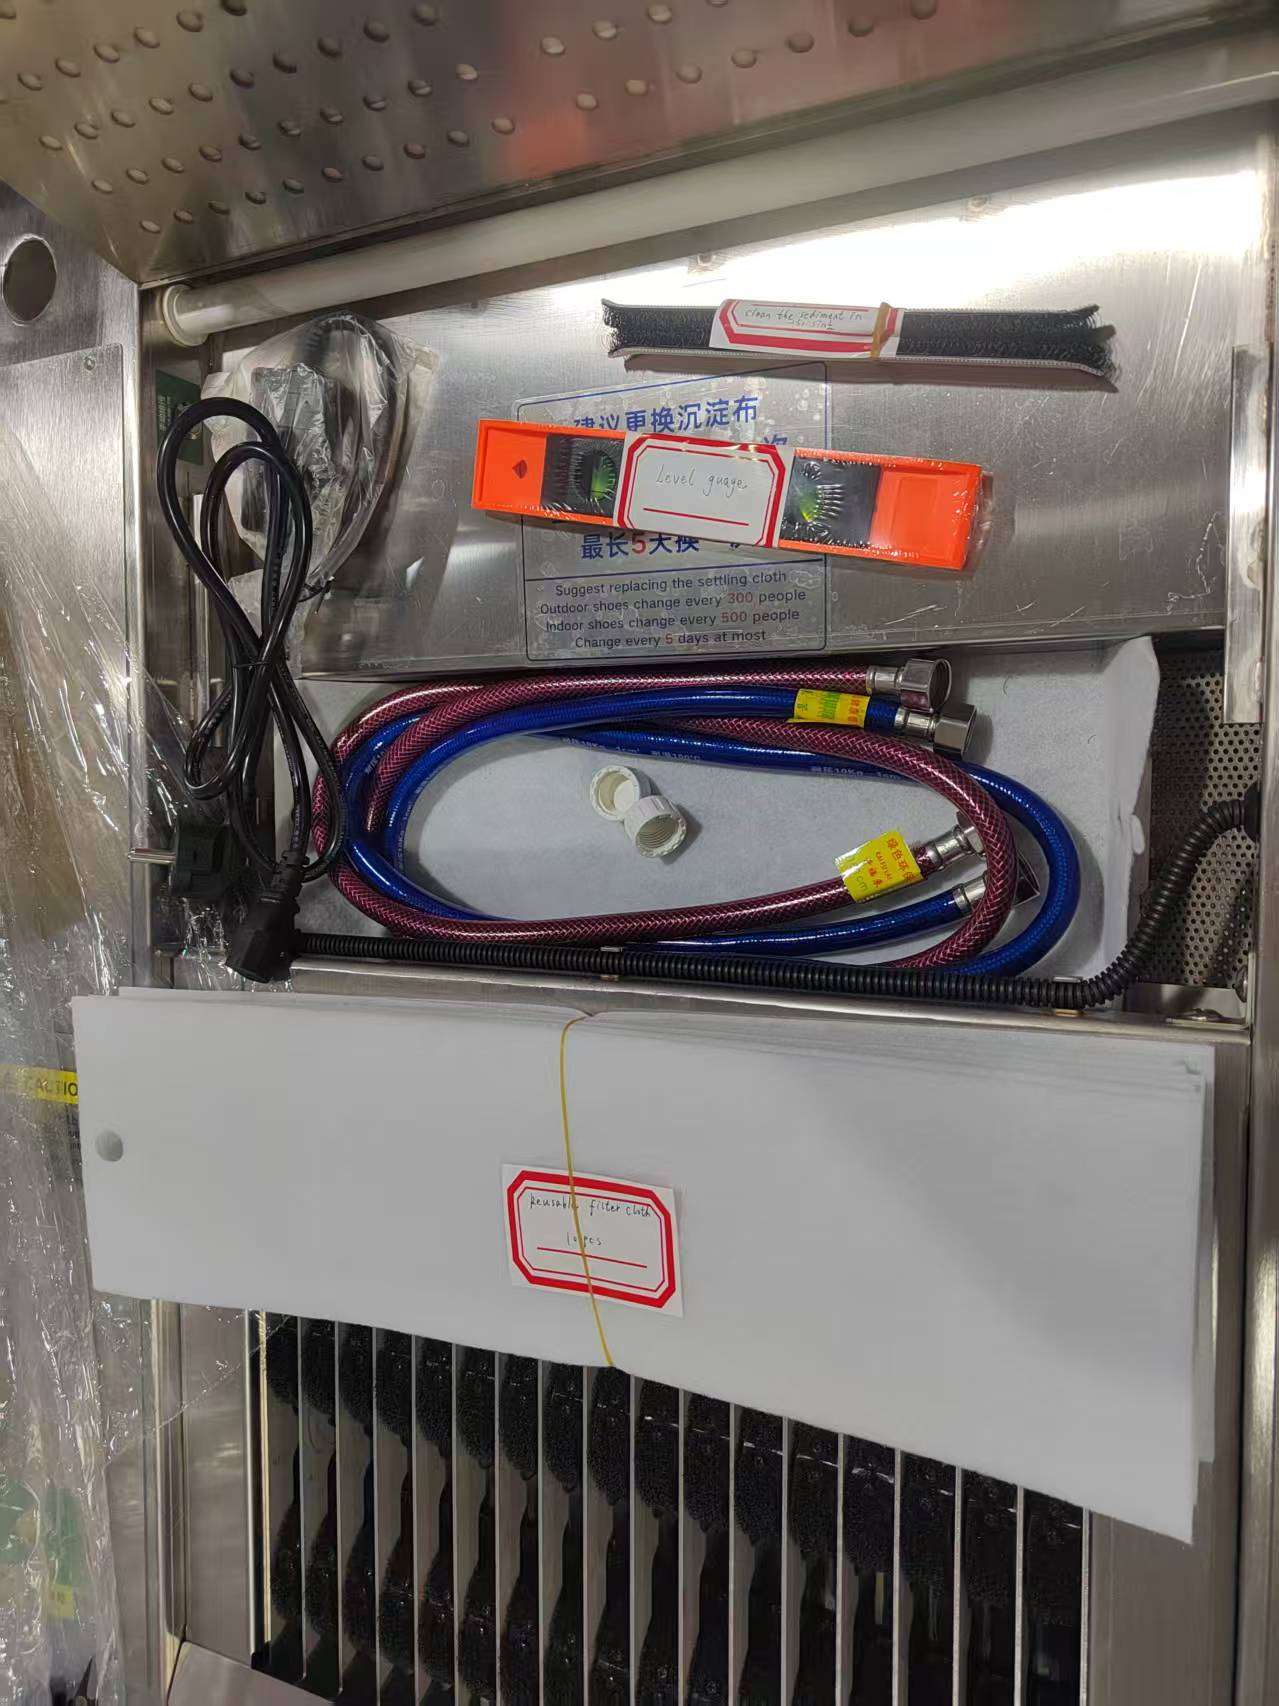
Step 3: Place the industrial boot wash station on the level ground.
The uneven ground can be adjusted with the adjustable foot. Don’t tilt to avoid damage to the shoe sterilizer machine due to water overflow. (You can find a water level gauge in the accessories with the machine, so be sure to level it before use).
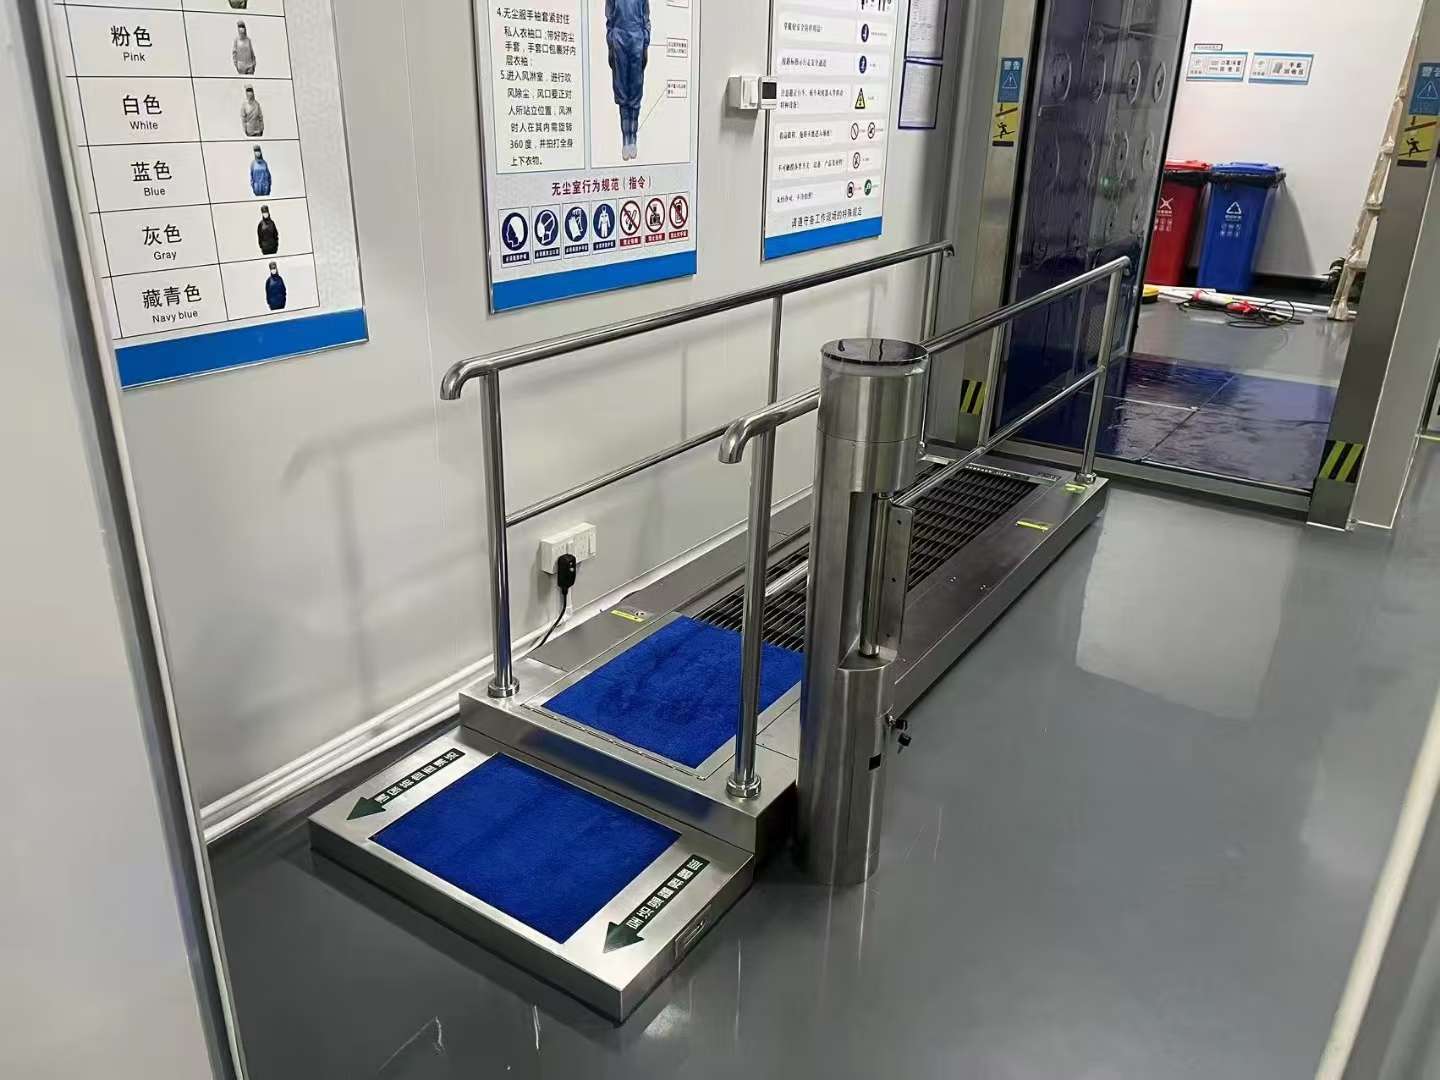
Step 4: Connect the industrial boot cleaner to the power supply
Take out the leakage protection power cord and the customized plug.
Connect the power cord to the power socket at the bottom of the machine and insert the plug into the 2-phase or 3-phase socket in the installation area.
Then the shoe sanitizer machine will be powered on.
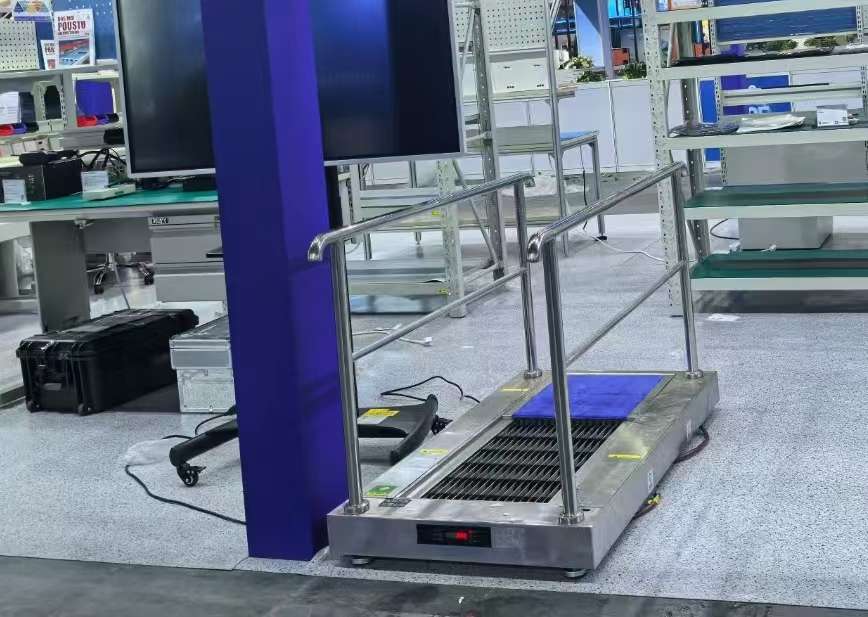
2. Instructions when using the shoe sole cleaner machine:
Users can use either auto mode or manual mode to add water and drain sewage.
If there is no access to the water tap and sewage outlet in the installation area, you can only use the manual mode.
2.1 How to operate the machine in manual mode?
Step 1: Take out the white blocker and block the drain outlet tightly.
If the drain outlet is not blocked tightly, then wastewater will leak from the drain outlet after using for a period.
Step 2: Fill a bucket with clean water and then pour water into the sink in the cleaning area.
Step 3: Start the boot washer station through the infrared sensor and enter the cleaning area.
Then, stand in the cleaning area with both feet, stay for 3-5 seconds (or you can walk naturally for 3-4 steps in the cleaning area), and the brushes will automatically clean the shoe soles (you can move your feet appropriately so that all parts of the soles can be cleaned)
Step 4: After cleaning, enter the drying area and stay on the water-absorbent pad for a while to let the blue pad fully absorb the water stains on the shoe soles.
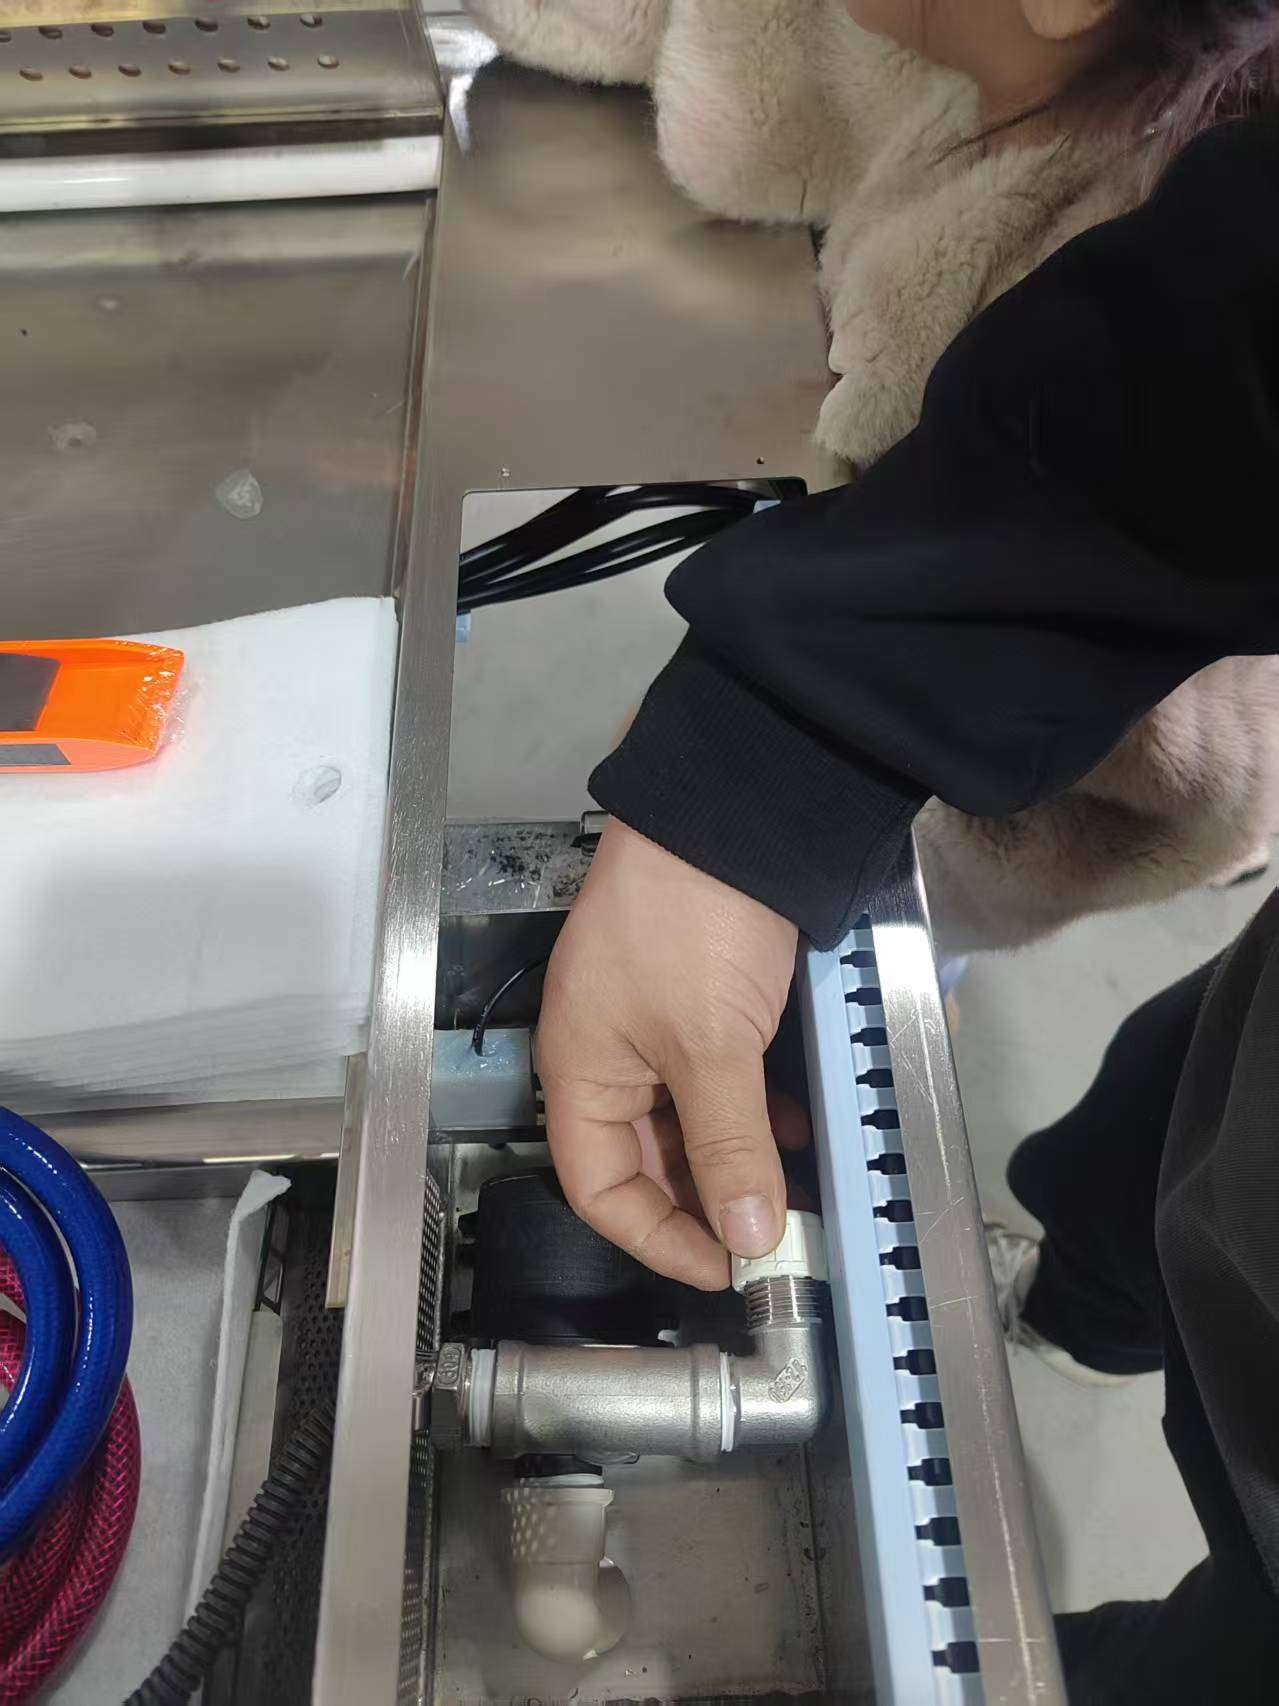
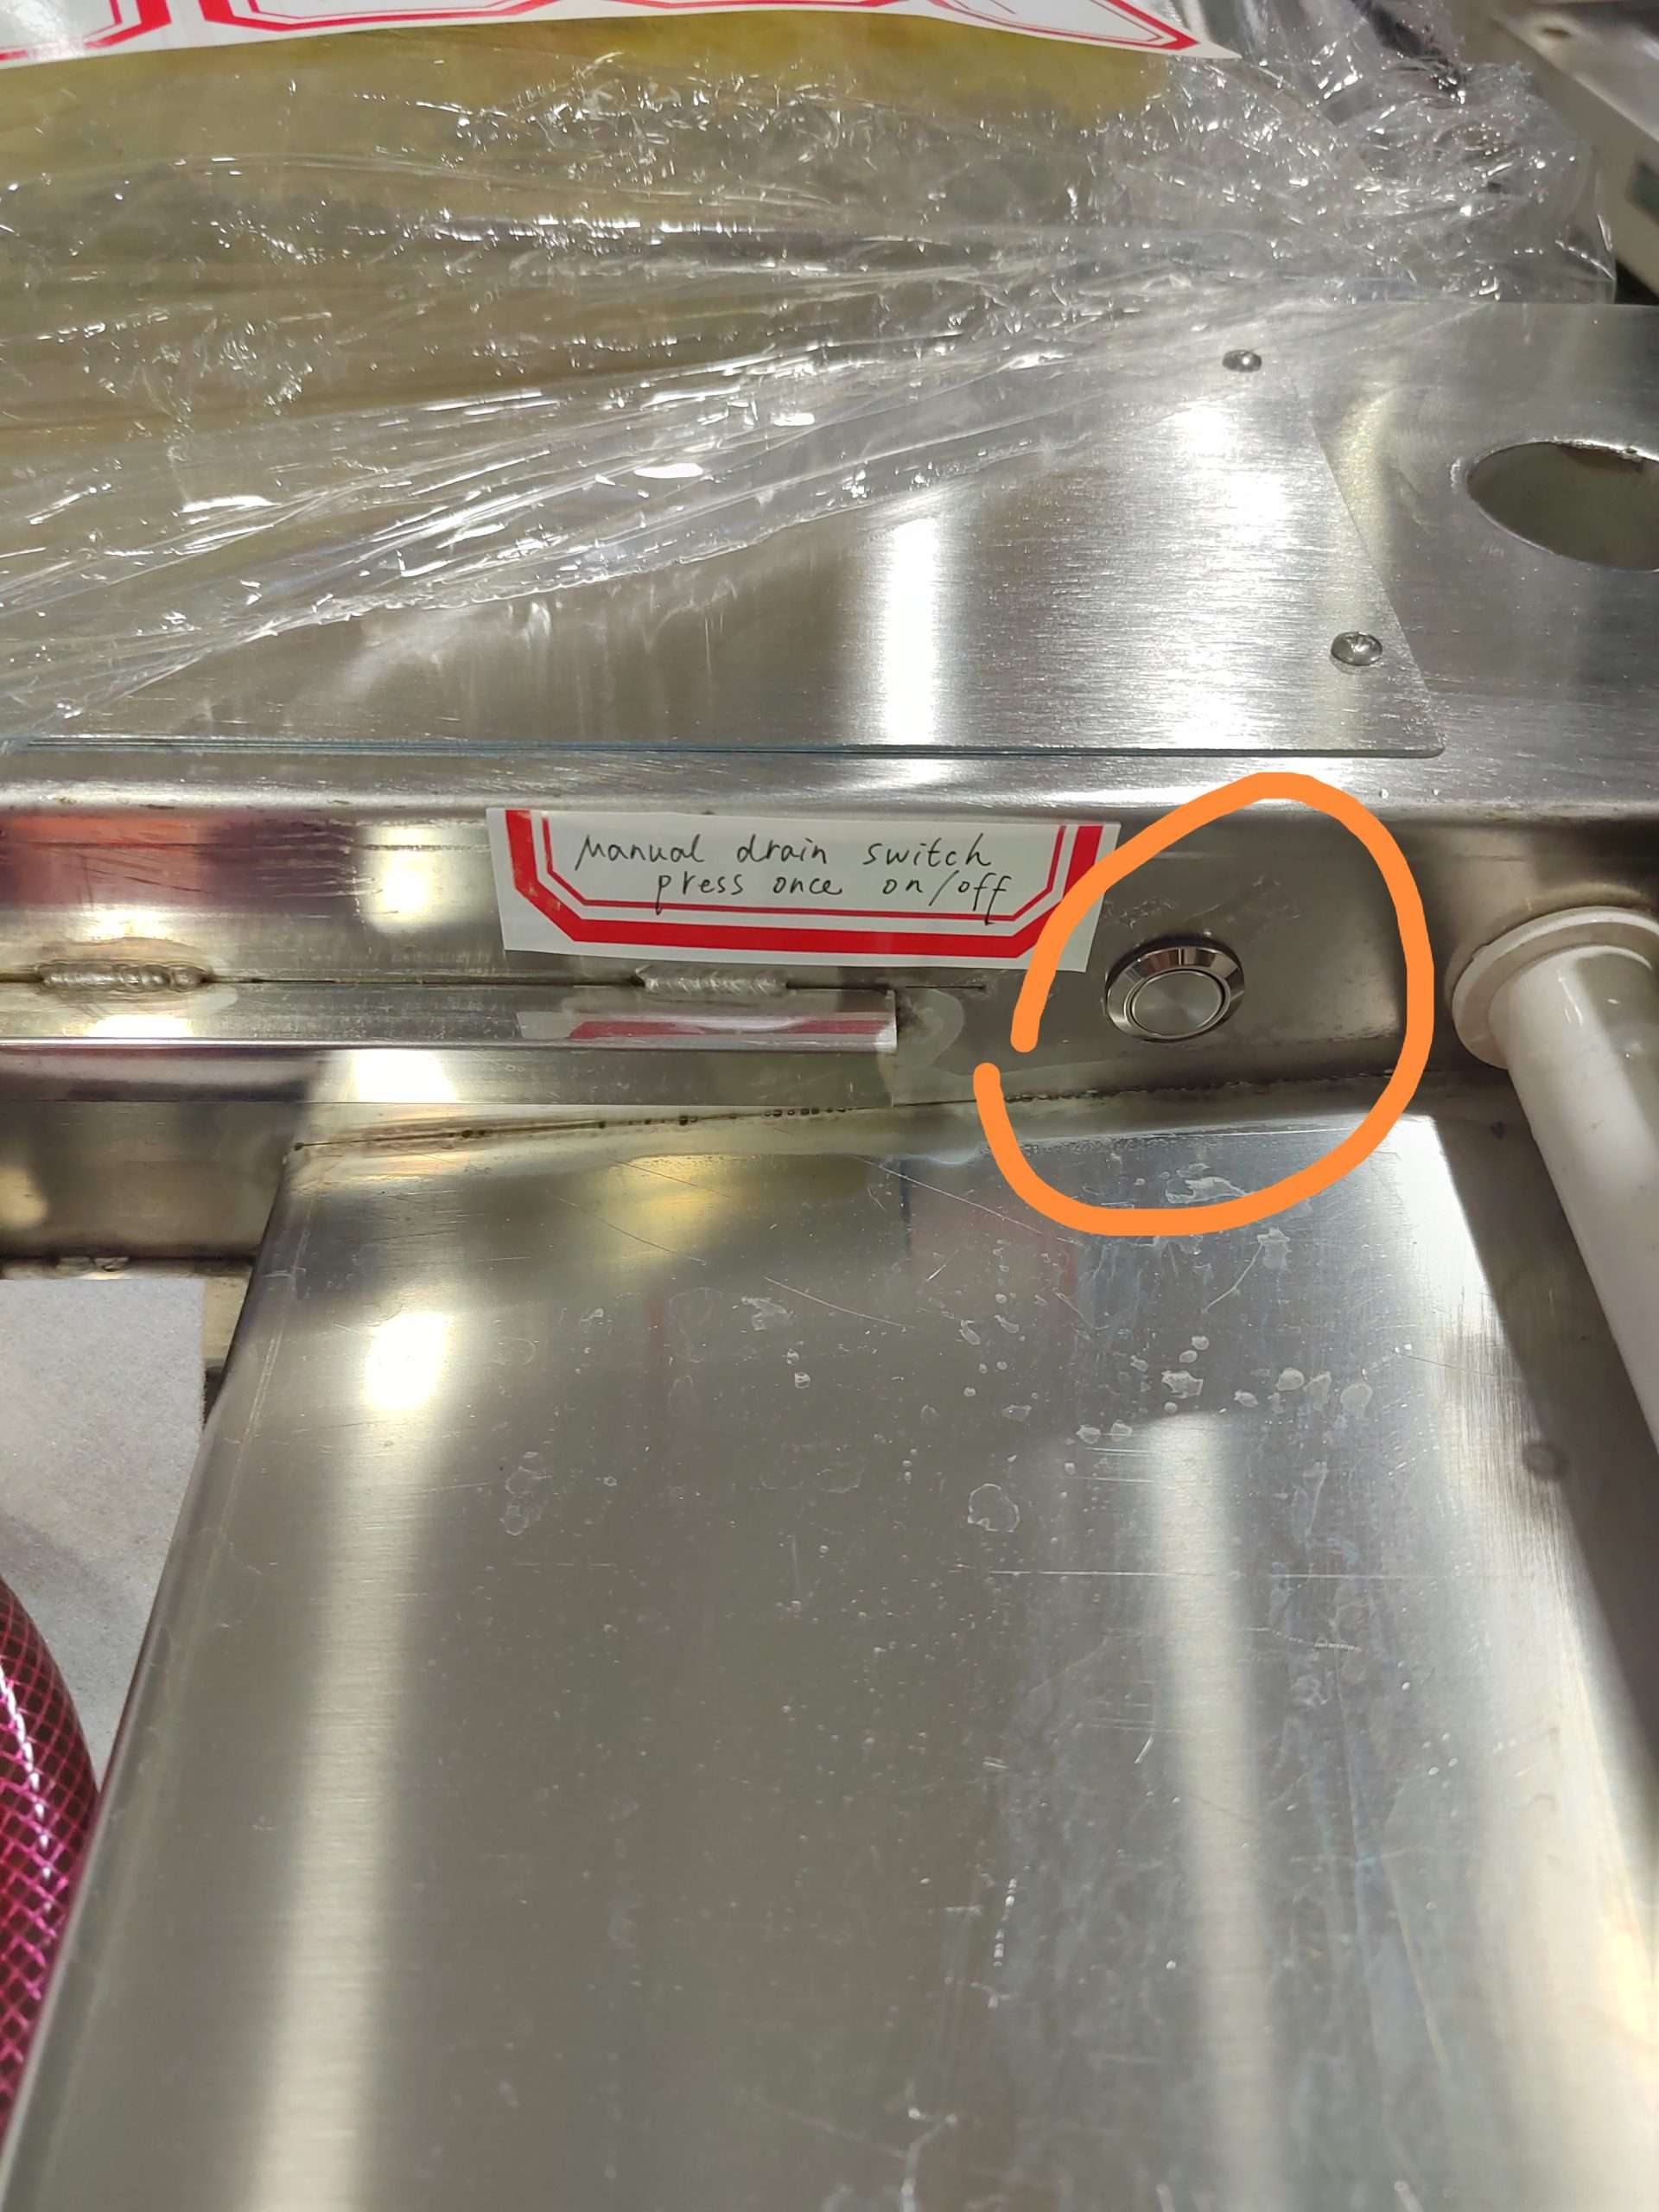
2.2 How to manually drain the sewage inside the industrial boot washing station quickly after use?
After the shoe cleaning machine is used for 1 day, sediment gathers in the sediment trough. You can finish the cleaning tasks step by step:
1) Uplift the cover beneath the water-absorbent pad.
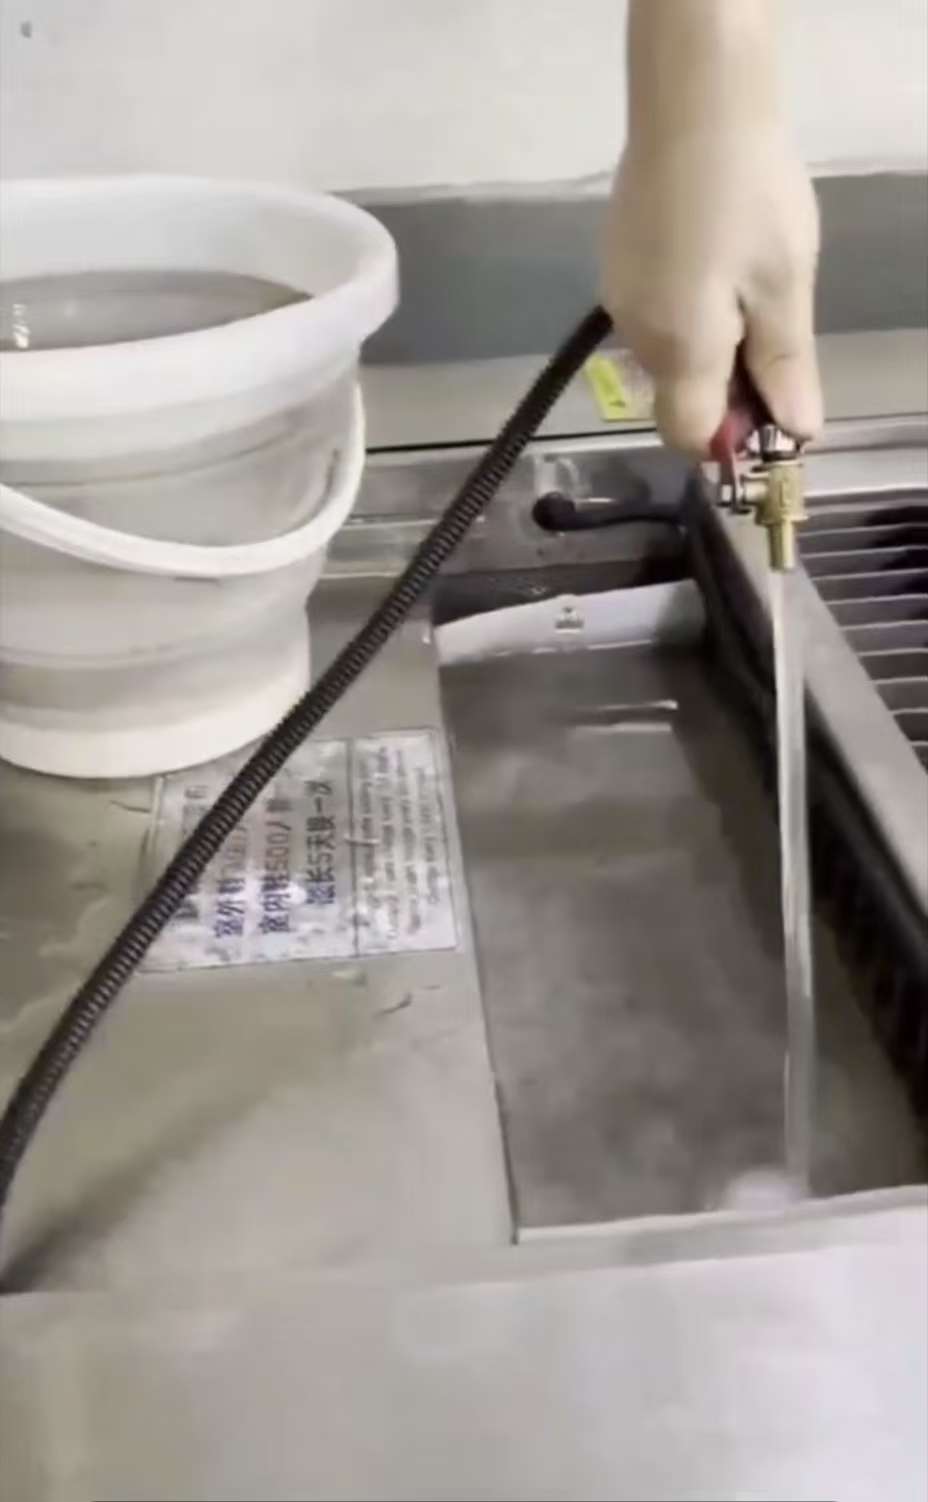
2) Take out the handheld drain hose and turn on the switch.
3) Press the manual drain switch once, then the machine starts to drain wastewater.
4) Use the handheld hose to flush every corner of the machine until it is clean.
5) Drain the sewage into an empty bucket until no water is inside the machine.
6) Press the drain switch once again, then the machine stops draining at once.
7) Put the handheld hose back and dump the wastewater in the bucket.
8) Take out the white filter cloth in the sediment trough and wash it with clean water.
9) Put a new one into the sediment trough.
10) Close the cover.
ity3. How to Maintain the Shoe Bottom Cleaning Machine Regularly?
Regular maintenance of the shoe bottom cleaning machine can prolong its service life and reduce the failure rate.
3.1 The tips for cleaning the surface:
Clean dust and stains from the surface of the shoe shine station regularly (once a week is recommended) and wipe the body frame with a piece of a damp cloth to keep the appearance neat.
Regularly clean and replace with new water-absorbent pads to achieve the best cleaning effect.
3.2 The tips for cleaning the body:
1) Clean the machine’s brushes every 1-2 weeks as often as you use them. You can use the governor to adjust the brush surface to remove hair, fibers, and other debris wrapped around the brush.
2) Clean the sink, empty the sink regularly (every 1-2 weeks), and rinse it with fresh water to avoid the growth of dirt and bacteria as well as clogged drains.
3) Clean the white filter cloth: Replace or wash the filter cloth regularly to keep the drainage smooth.
3.3 Regular Check for the machine
1) Check the sensor regularly to ensure it is sensitive. If the sensor is not sensitive, there may be dust or a malfunction in the sensor. Thus, you must clean up the dust or contact the after-sales service.
2) Check the wear of the belt brushes. Users must check them every 3 months. If it is severely worn, it will affect the cleaning effect and needs to be replaced in time.
3) Check the water pipes for leaks/blockages once a month. If water leakage is found, check whether the connection is loose or the water pipe is damaged; If it is blocked, you should dredge and clean up the water pipes in time.
4) Chains and spherical bearings should be lubricated every 2 months.
5) Check whether the filter screen in the inlet solenoid valve is blocked, clean up the debris, and keep the water inlet pipe unobstructed.